
InBox Project Control
Version 7.0.4
Date of criation 15/10/2019
Resources
This module aims to assist project management using the OTRS tool as a base, being able to perform the following tasks:
Creation of projects;
Project editing;
Assign tasks to projects;
Allocate resources to tasks;
Record absences of resources;
Viewing the tasks and the time counted for each resource;
Monitoring of the project using three graphics;
Project details;
Projects;
Resources;
Prerequisites
Framework
The following versions of the OTRS framework are supported:
- [7.x.x]
Modules
The following modules are required:
- InBox Core 7.0.0 or superior
Operational system
The following operating systems are required:
- [None]
Third Party Software
The following third party software is required:
- [None]
Instalation
bin/znuny.Console.pl Admin::Package::Install /path/to/InBox\ ProjectControl-7.0.4.opm
Configuration
This module can be configured via System Configuration in the administrative interface. The following configuration options are available:
ProjectControl::AbsenceType
Determines the absence possibilities to be displayed in the absence record. Default values: (Vacation, Illness).
ProjectControl::TaskCategories
Determines the possibilities of task types to be displayed in task management.
ProjectControl::ResourceViewMonths
Determines the number of months shown on the Resources graph.
Default value: (3).
ProjectControl::ProjectManagerGroup
Determines the default group for project manager (s).
ProjectControl::TicketAttributes
Defines the attributes of the ticket that will be associated or created from the project or task. Default values:
Title    => Chamado de projeto,
Queue    => Raw,
Lock     => unlock,
Priority => 3 normal,
State    => new
It is necessary set a value for the OwnerID attribute, for the module to work correctly.
ProjectControl::EnableSumTimeAcountedTasks
Activates the sum of the counted time of the so-called child in the so-called parent.
ProjectControl::EnableAppointmentSeparation
Enables the separation of time counted into business hours and non-business hours.
ProjectControl::DynamicFieldTableList
Set the names of the dynamic fields to display as a column in the project table.

Use
Project creation
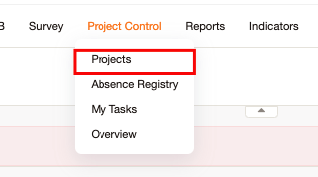
In the menu at the top of the screen there will be an option called “Project Control”, after selecting it, four sub-menus will appear. To create the project, it is necessary to select the option “Projects”:
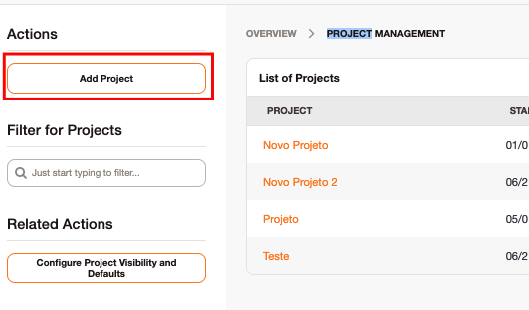
Opening the "Projects" screen, select the button on the left side "Add projects":
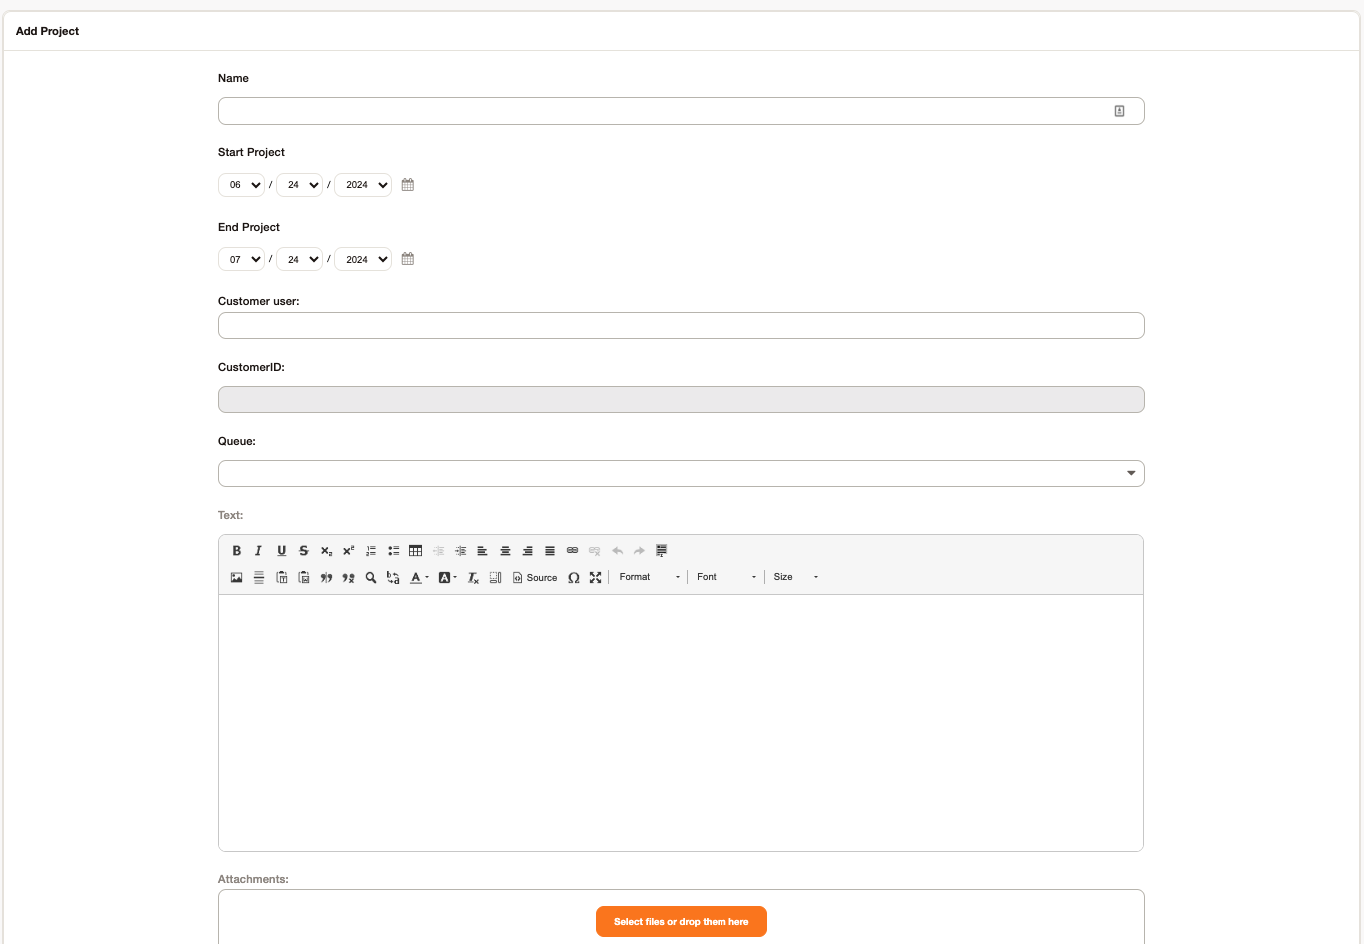
Clicking on the button, a registration screen will be presented to register the projects:

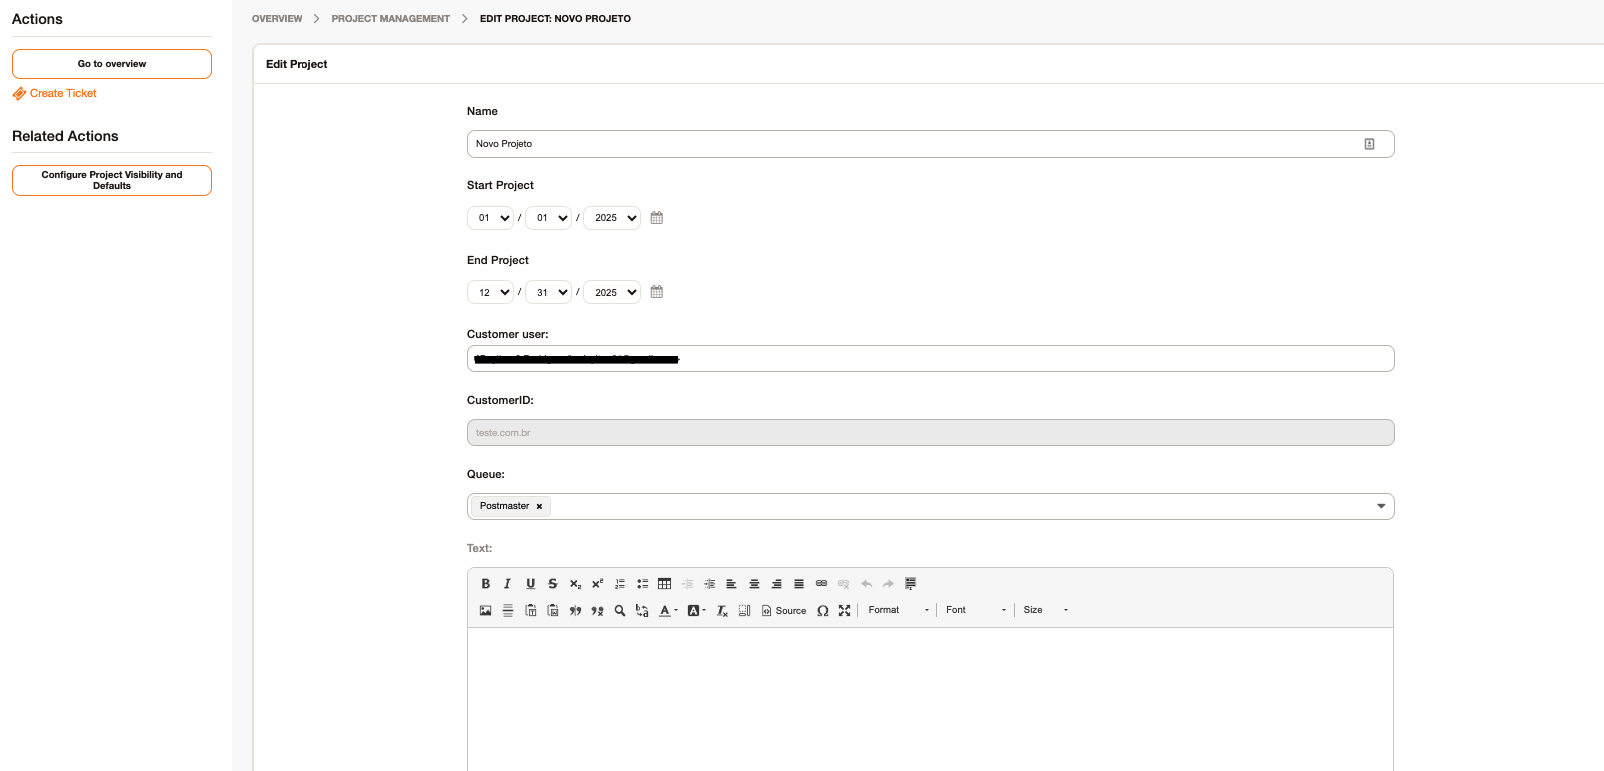
By filling in the data above, the registration will be successful and the user will be redirected to the project edit screen:
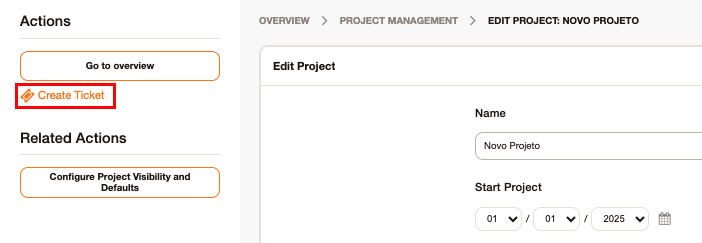
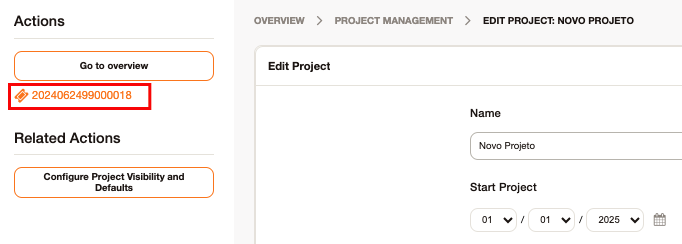
Project ticket creation
The ticket will be created with the settings defined in the project form, other parameters can be defined in the configuration: ProjectControl::TicketAttributes Obs: Project fields have a higher priority over configuration

With the project already created and the configuration defined, the ticket that will represent the project must be created by clicking on the “Create” button:
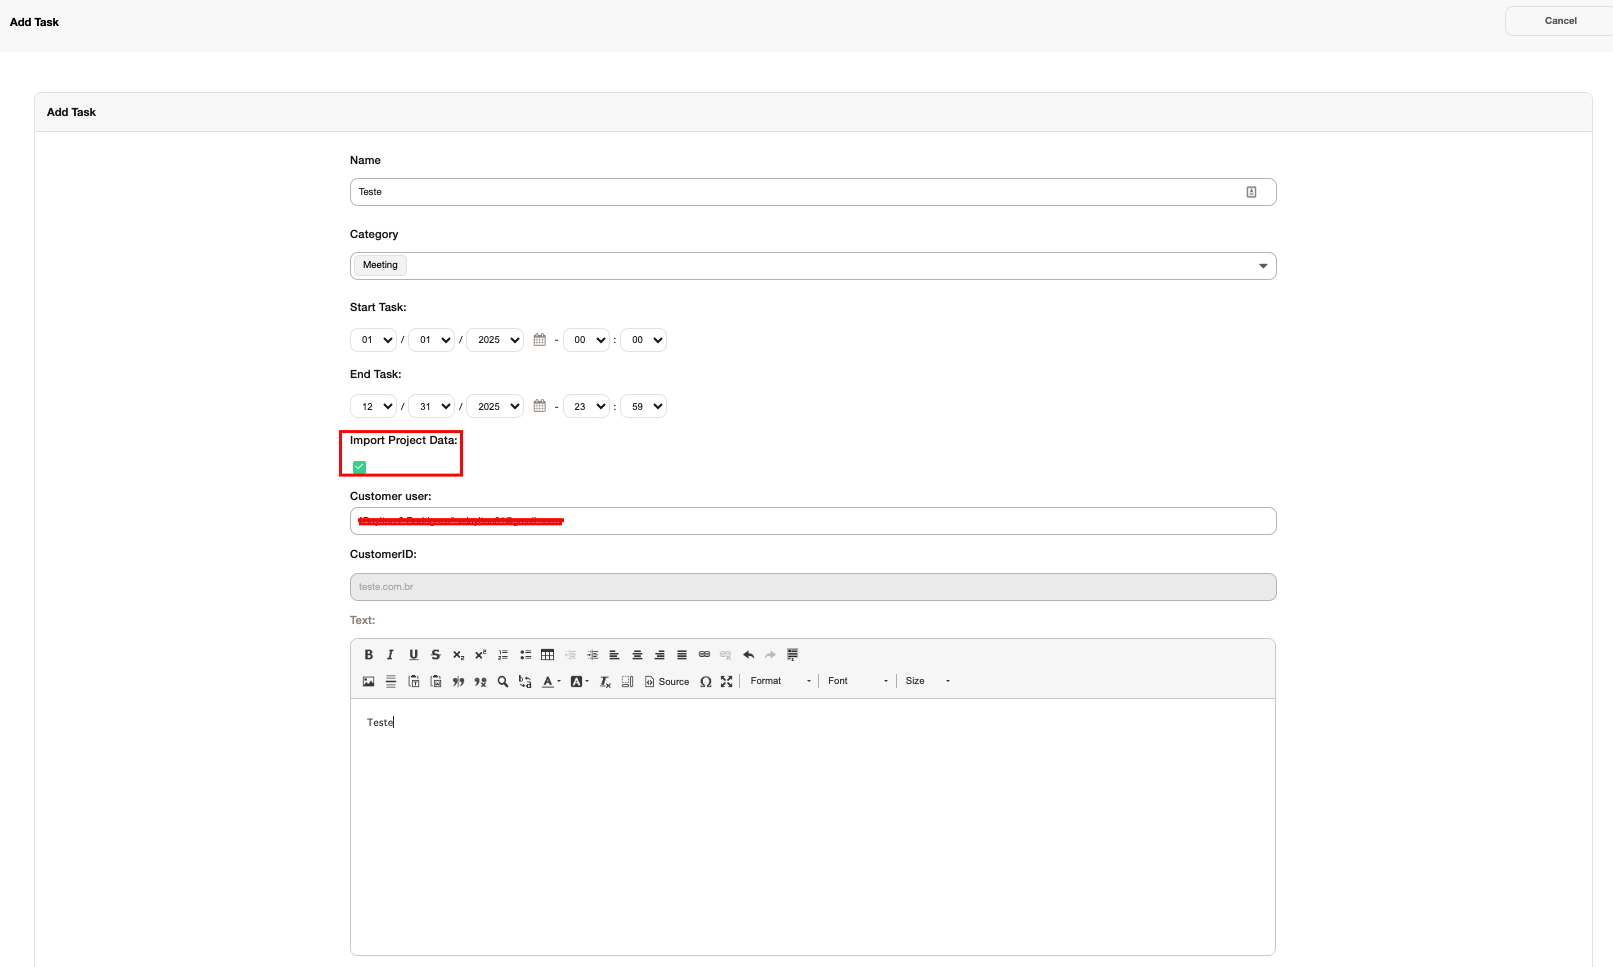
Task creation for the project
To add a task to a project, it is necessary to select the “Add new task” button:

A new window will open, in which you can select the task name, category, task start, task end, comment, calendar, validity and the task list. It will be possible to select the resource (s) and the start and end date that will work on this task
In which it has a filter per row that the user can choose one or more queues that
he wants to have information.
Since the task must respect the beginning and end of the project and the resource must be used only at the start and end of the task, otherwise it will not be possible to create the task.
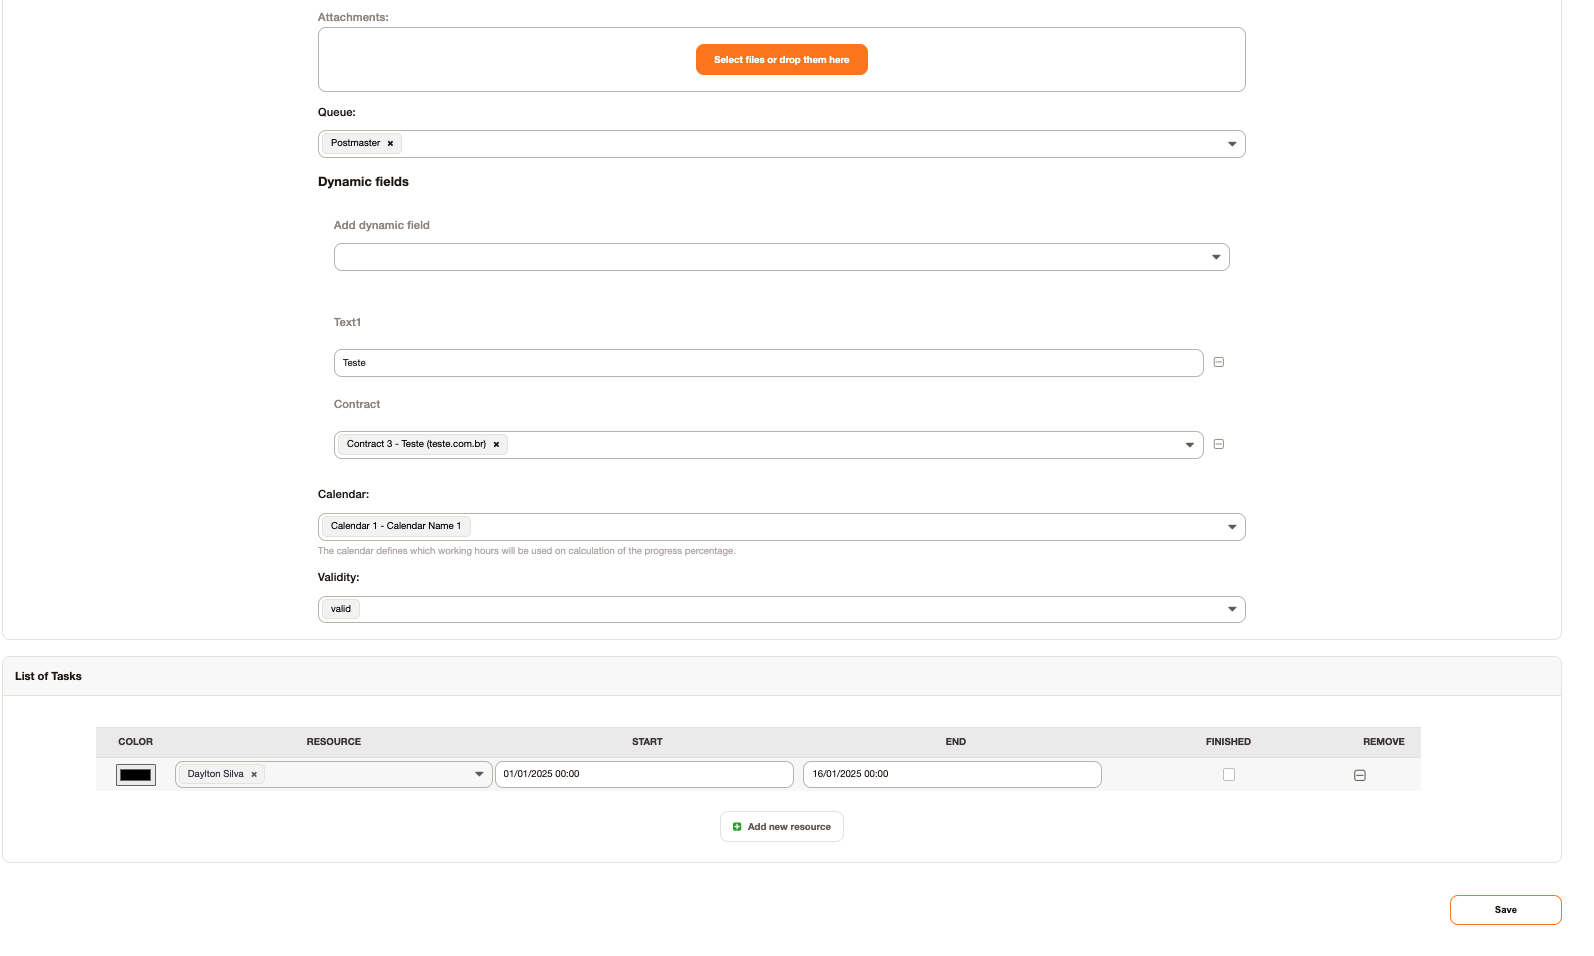
The resource cannot be used at the same time for other tasks.
To determine which categories will appear to be selected, it will be necessary to determine them via the “ProjectControl::TaskCategories” configuration, in which different types of tasks can be placed. But by default, two values "Meeting" and "Execution" will be listed:

This chart takes into account the lowest value (first burst) registered in the SLA.
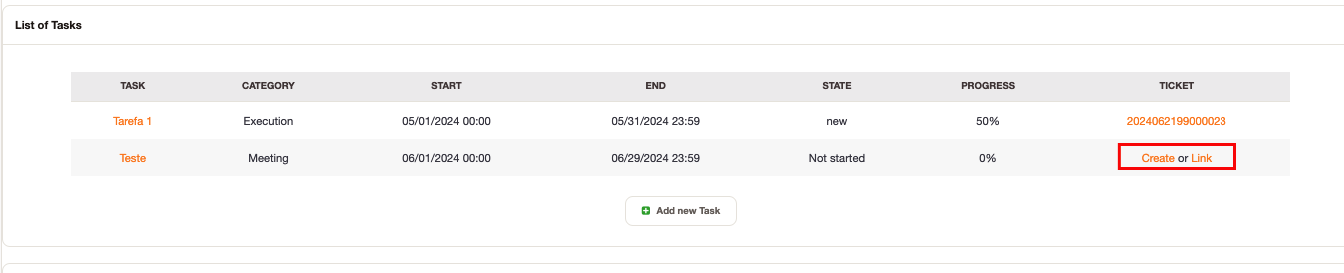
Ticket Creation or Association
With the “ProjectControl :: TicketAttributes” configuration set, when selecting the “Associate” button on the project editing screen, a new window will open to enter the number of the ticket you wish to associate with the project.
Remembering that for the options to appear, it is necessary to have a ticket associated with the project and if the task is already started.
Pressing associate, the screen below will be presented to inform the number of the call.

Record of Absences
In the menu at the top of the screen there will be an option called “Project Control”, after selecting it, four sub-menus will appear. To register the absences of the resources, it is necessary to select “Record of Absences”.

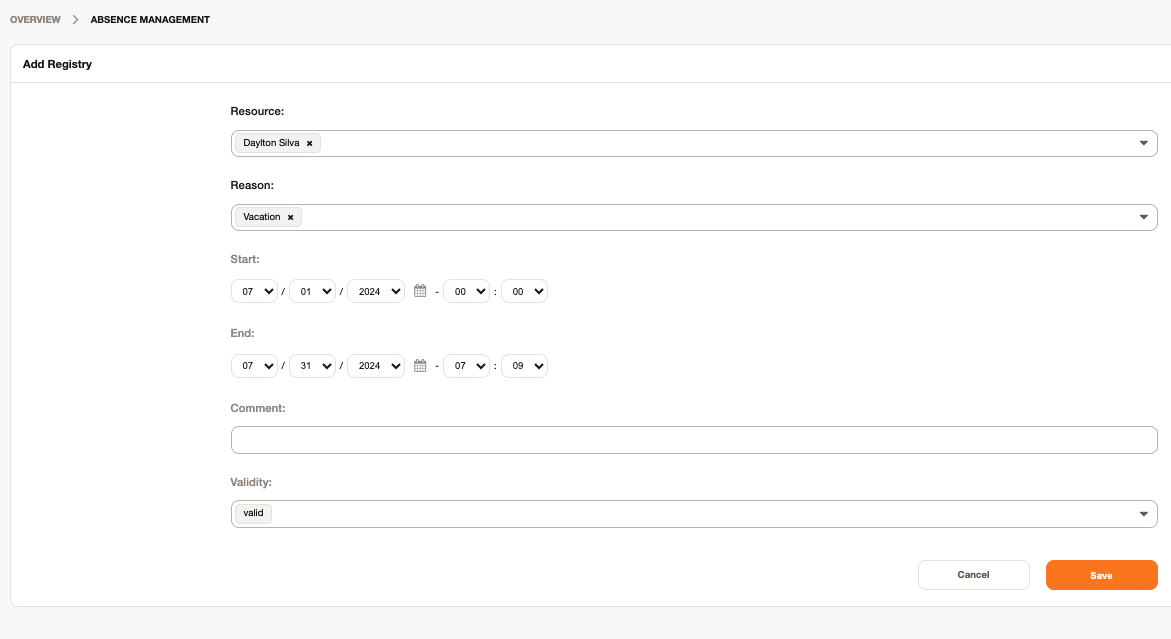
On the "Absence Record" screen to add an absence to a resource, you must select the "Add Absence Record" button on the left side.

A new screen will open to add the absence record with the resource, reason, start, end, comment and validity fields.
The record will now be shown as follows in the record list:

To determine the reasons that will appear to be selected, it will be necessary to determine them via the “ProjectControl::AbsenceType” configuration, in which different types of absences can be placed. But as a default value, the values “Illness” and “Vacation” are already added:

Delete absence record
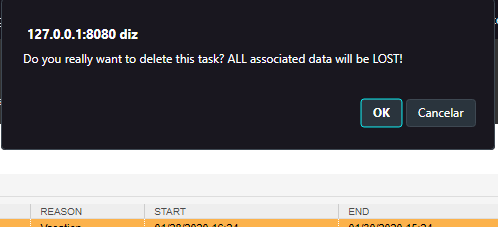
To delete an absence, click on the “TrashCan” icon:

An alert will be displayed to confirm the deletion. If “OK” is selected, the absence will be deleted, if “Cancel” is selected, the operation will be aborted.
Task view
It is necessary that the group referring to the project managers is already defined in the configuration “ProjectControl::ProjectManagerGroup”, Example:

In the menu at the top of the screen, there will be an option called “Project Control”, after selecting it, four sub-menus will appear. To register the absence of resources, it is necessary to select the “My Tasks” sub-menu:
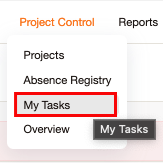
On the “My Tasks” screen, two types of views are presented. The first is the user's view, in which he can only see the tasks allocated to him. And the second is the view of the project manager who can view all tasks for all resources.

Graphics view
In the menu at the top of the screen, there will be an option called "Project Control", after selecting it, four sub-menus will appear. To register the absences of the resources, it is necessary to select the "Overview".

In the "Overview" screen there will be three tabs that can be accessed to show information about the projects and the resources associated with the projects.
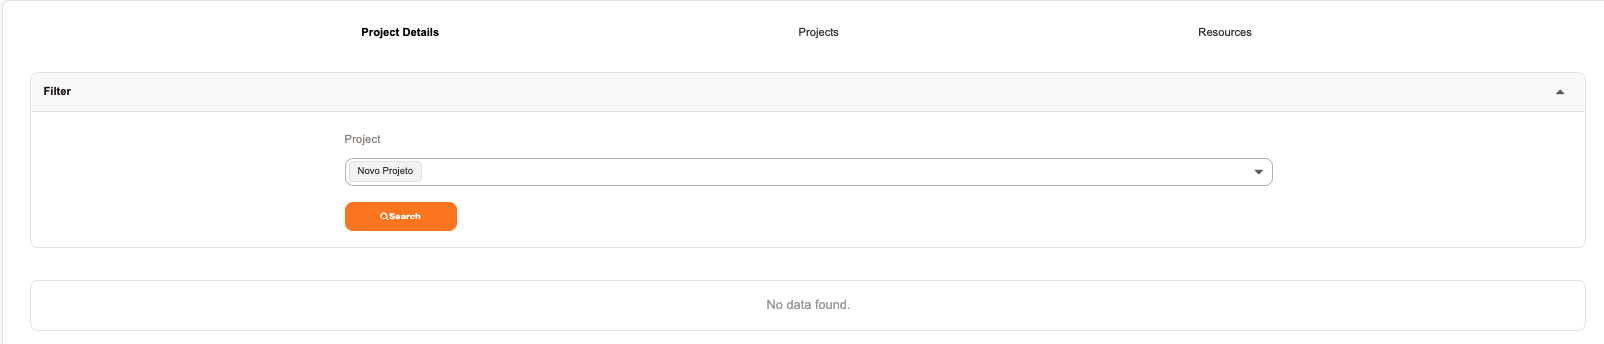
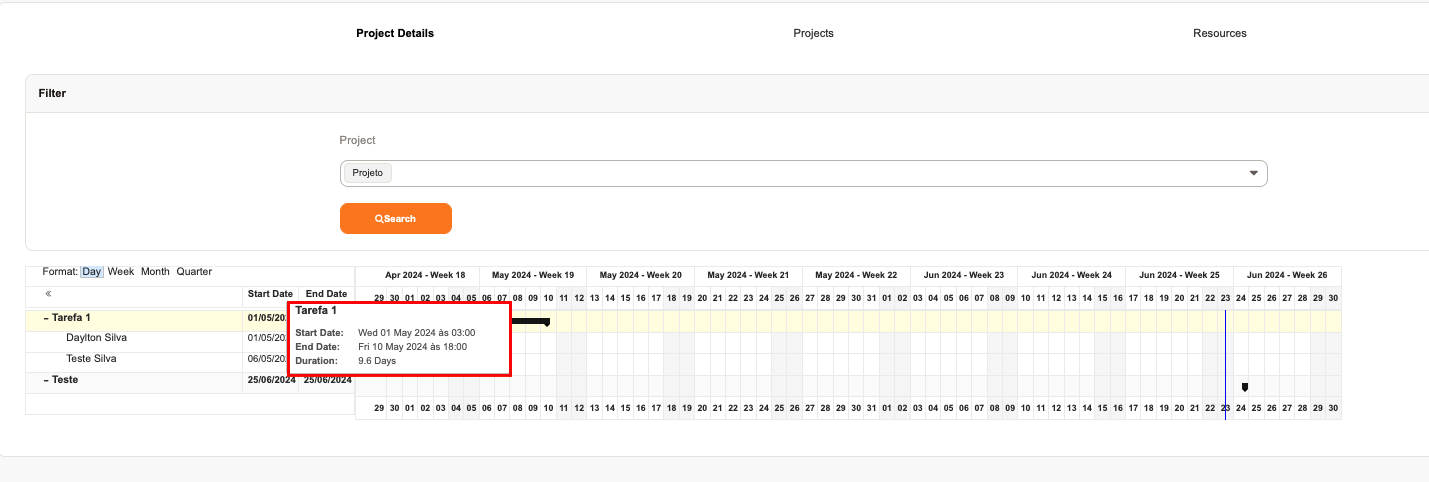
"Project Details" graphic
In the first tab "Project Details", after selecting the project in the "Projects" filter and the day that should appear in the first column (if valid), clicking the search button, information about the tasks of the selected project is returned.

When hovering over any item in the “Project Details” chart, a “Tooltip” will open and show the name of the task or resource, the start date of the task, the end date of the task and the duration in days of the task, in addition to bringing the comment (if any).
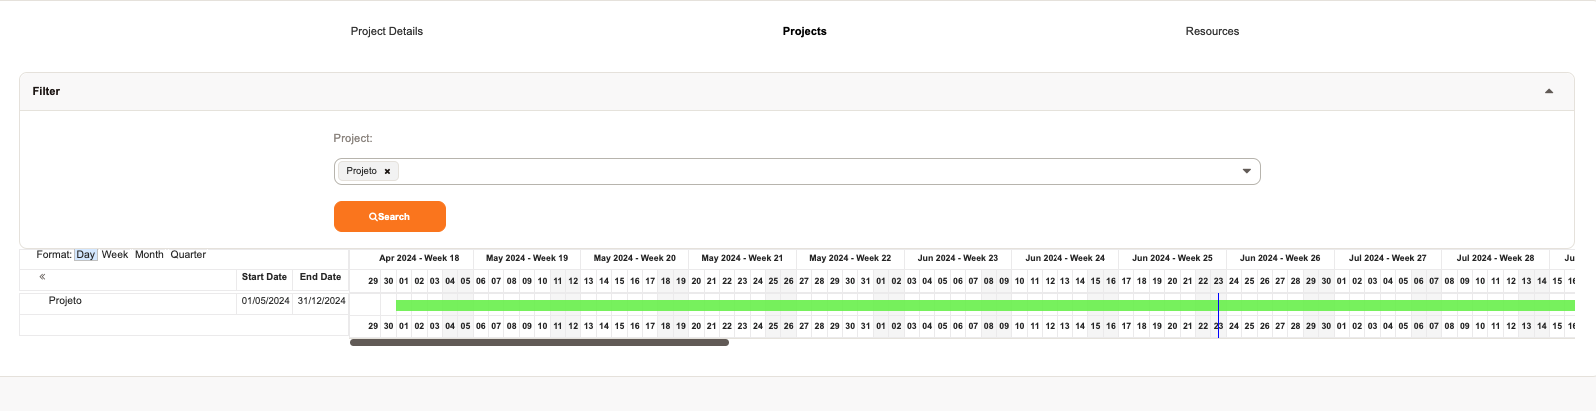
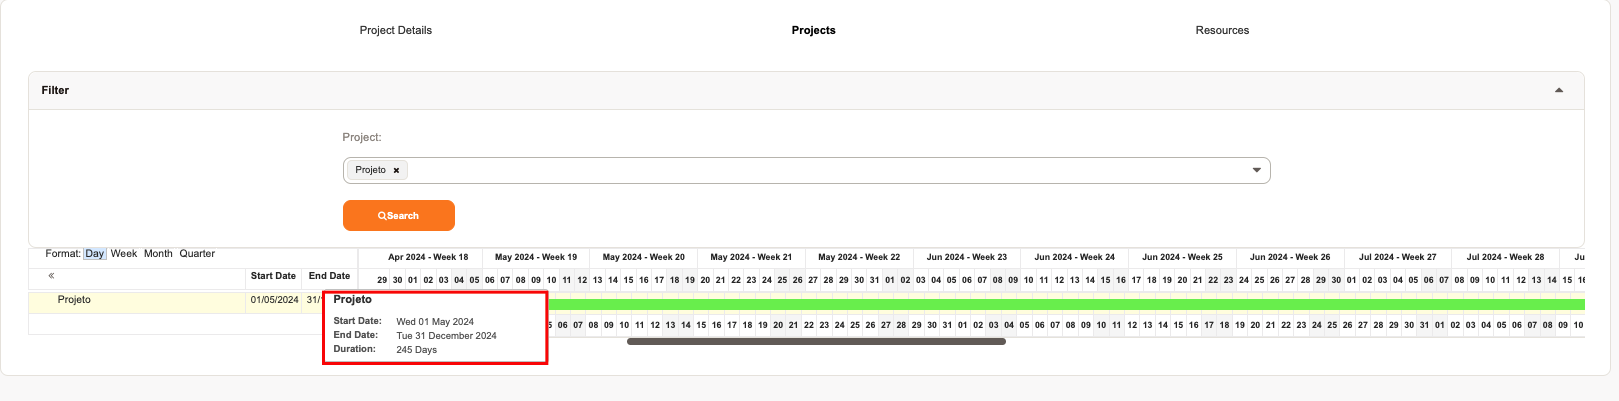
"Projects" graphic
The second tab "Projects" allows the selection of one or more projects and the date to be the beginning of the graph, showing the duration of the project.
When you hover your mouse over any item in the “Projects” chart, a “Tooltip” will open and show the project's start date, the project's end date and the duration in days of the project.
"Resources" chart
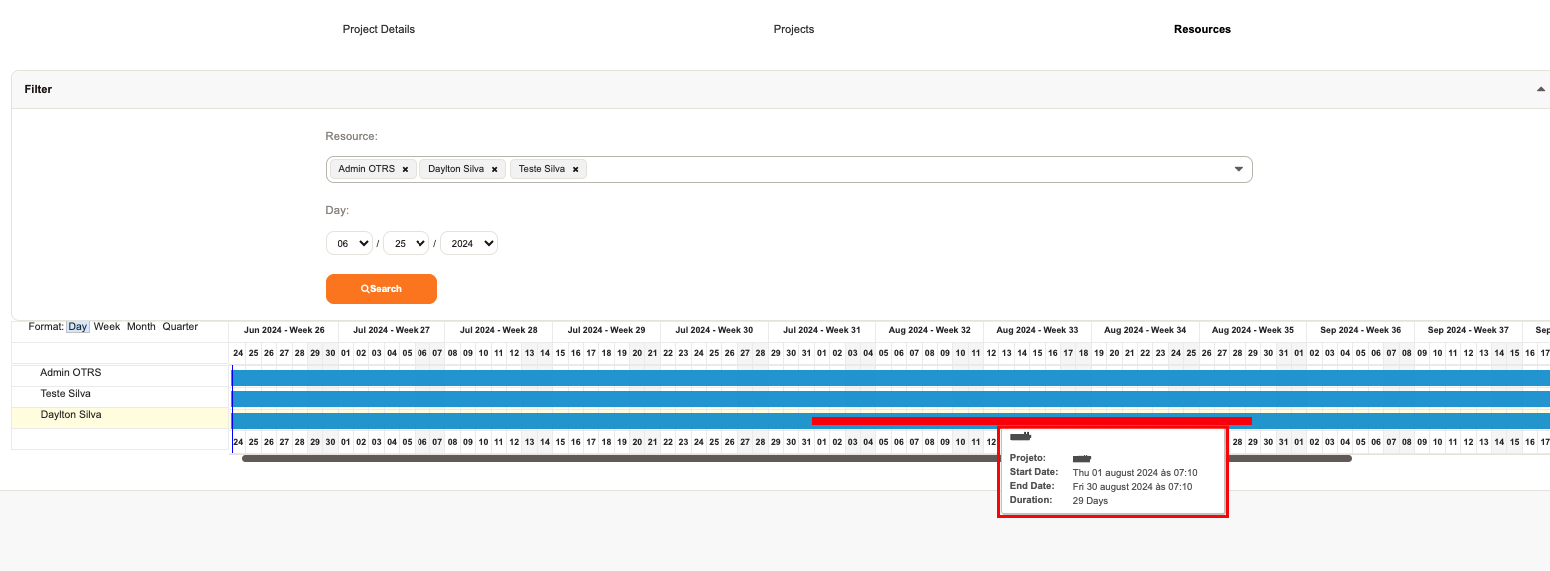
The third tab "Resources", allows the selection of one or more resources and the starting date to be displayed, showing what the resource will be doing on a certain date, if it will be absent, in project or in operation.
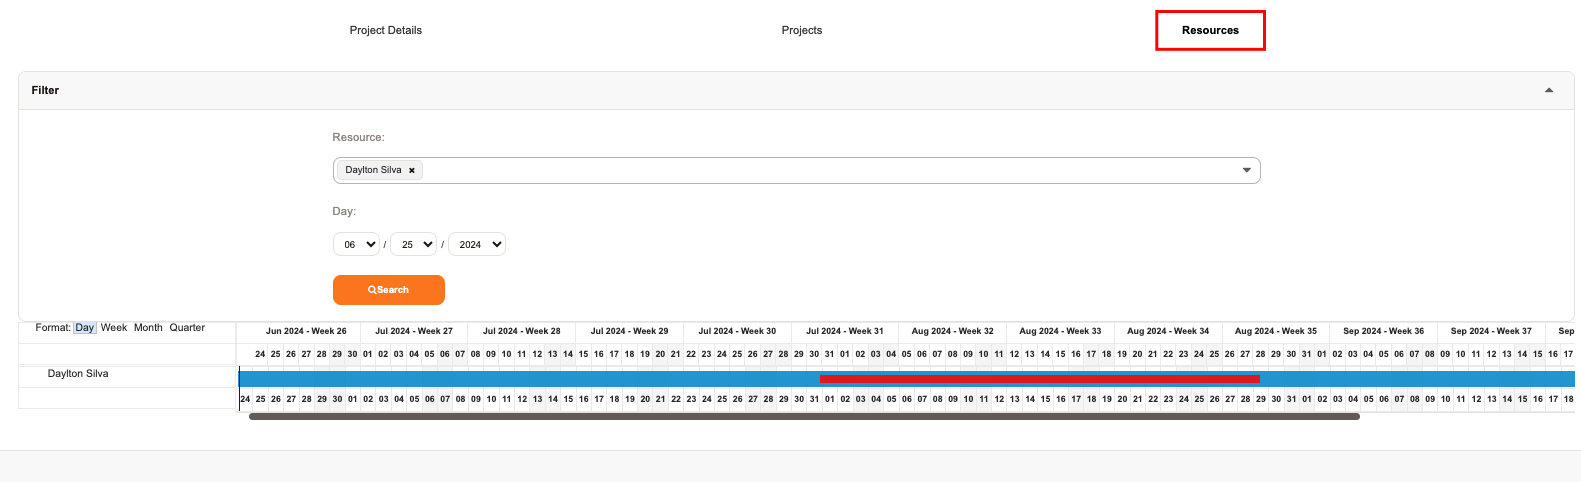
When hovering over any item in the “Resources” graph, a “Tooltip” will open and show the task name, the task's start date, the task's end date, the name of the project that this task is related to and the duration on task days.
It is possible to determine via configuration ProjectControl::ResourceViewMonths the maximum number of months that will be displayed in this graph.

A resource allocated to a task, can have an absence record in the same period that it will be in the project only if the absence is recorded after the project period, as a resource cannot be allocated to the project if it already has a record of absence in the period that was selected.
The module has two management features:
Add the time enabled in the task call (called-child) in the project call (called-parent);
Separate the entry of the calls from the tasks into business hours and non-business hours.
Business hours are those comprised within the task calendar. Non-business hours are times that are pointed out of the task calendar.
To enable the task timekeeping feature in the project ticket, go to the system settings and activate the ProjectControl::EnableSumTimeAcountedTasks

To activate the functionality of separating the counted time, go to the system settings and activate the ProjectControl::EnableAppointmentSeparation

It will be necessary to create two dynamic fields:
| Name | Object | Type Field |
| ---- | ------ | ------------- |
| BusinessHours | Ticket | Text |
| NonBusinessHours | Ticket | Text |